Tag: home painting
The Ultimate Guide to Home Painting
Are you tired of staring at the same dull walls day in and day out? Or maybe you’re moving into a new home and want to add your own personal touch through a fresh coat of paint. Whatever the reason, painting your home can be an exciting yet daunting task. But fear not because we’ve got you covered with our ultimate guide to home painting.
From choosing the right colors to prepping your surfaces, we’ll walk you through every step so that you can achieve professional-looking results without breaking a sweat. So grab your rollers, and let’s get started.
Preparing for the Paint Job
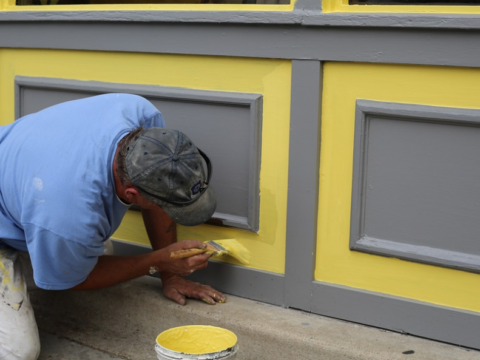
 Before you start painting, preparation is key to achieving a flawless finish. Begin by clearing the room of furniture or covering it with drop cloths to protect against accidental spills. Next, remove any wall fixtures, outlet covers, and switch plates.
Fill in holes and cracks with spackle, and sand the surface to create a smooth canvas for painting. Lastly, don’t forget to clean the walls thoroughly to remove dust and grease. A professional home painting company like Vancouver painters can typically take care of all these prep steps for you.
Choosing the Right Paint
Selecting the right paint color can be an overwhelming task. Start by considering the mood you want to create in each room. Light and neutral shades can make a space feel more open, while bold colors add vibrancy and personality. Use paint samples to test different hues on your walls before committing to a color. Additionally, consider the type of paint finish to achieve the desired look and durability.
Essential Painting Tools
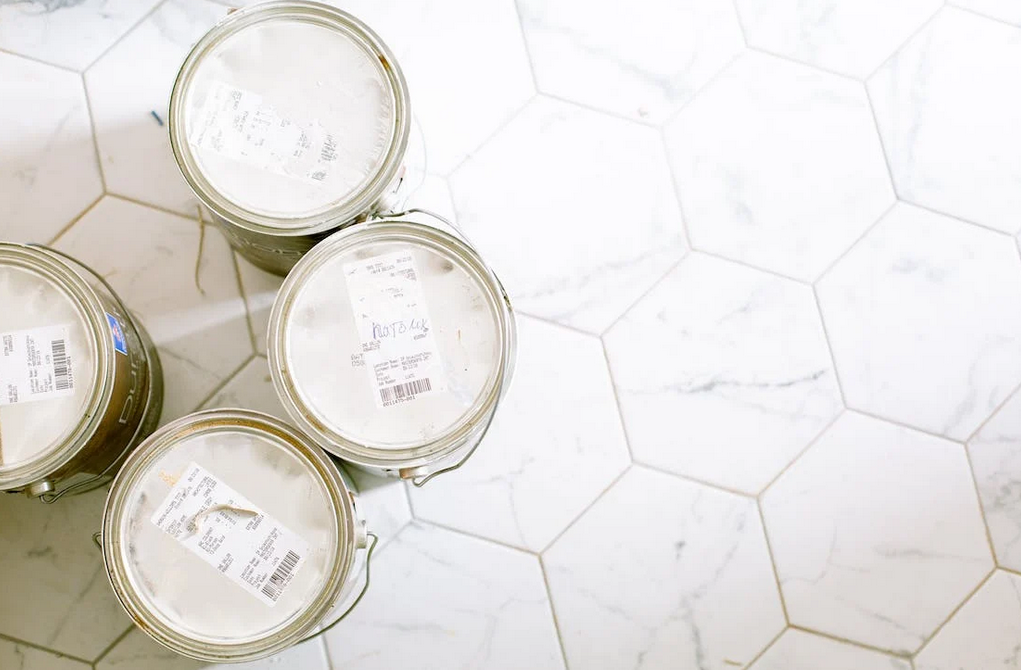
 To ensure a smooth painting experience, gather the necessary tools. You’ll need paintbrushes, rollers, roller trays, paint sprayers (optional), painter’s tape, drop cloths, and a sturdy ladder.
Quality tools will make the process easier and produce better results. Don’t forget to wear old clothes or a painting smock to protect yourself from accidental paint splatters.
Mastering the Technique
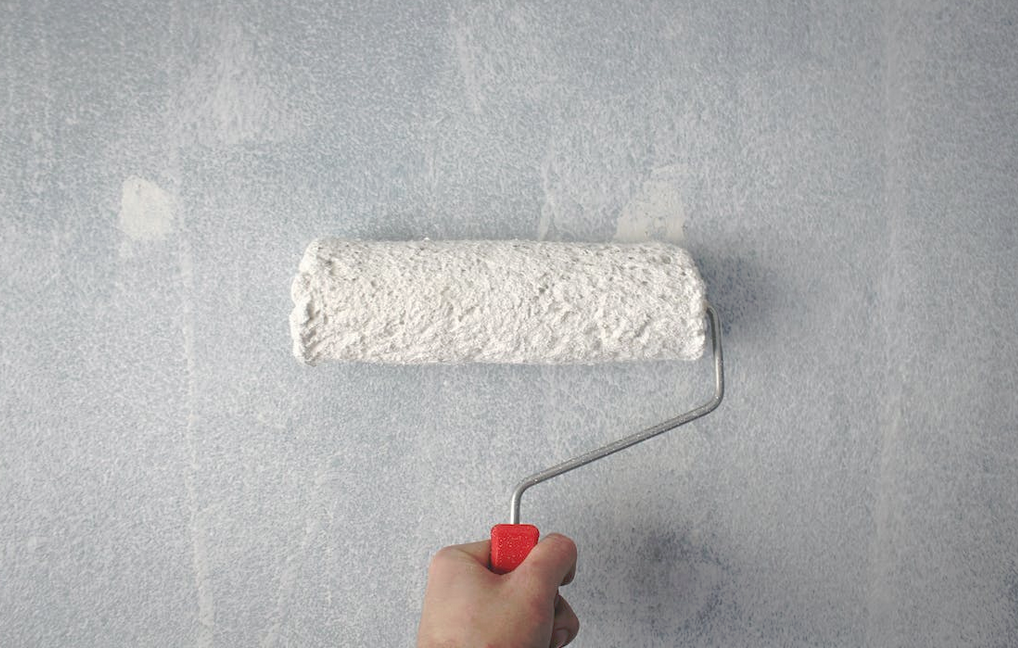
Start by cutting in, using a brush to paint the edges and corners of the walls, before moving on to the larger areas with a roller. Work in small sections, maintaining a wet edge to avoid visible brush or roller marks. For a professional finish, apply two or more coats of paint, allowing sufficient drying time between each layer. Remember to remove the painter’s tape before the paint dries completely to prevent peeling.
Dealing with Common Challenges
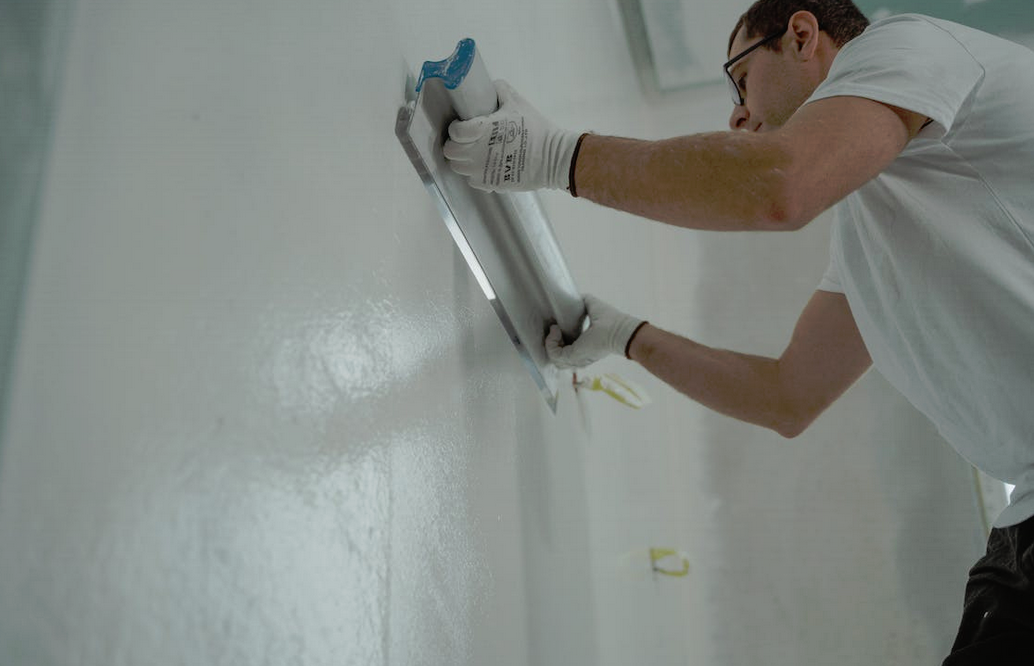 Home painting can come with its fair share of challenges. If you encounter drips or uneven texture, gently sand the affected area and touch it up with an extra coat of paint.
To fix paint bleed or smudges on trim or ceilings, use a small brush and steady hand to paint over the blemishes carefully. And if you accidentally paint over an area you didn’t intend to, don’t fret. A damp cloth or sponge can often remove fresh paint spills.
With these tips and techniques, you’ll be well on your way to creating a beautifully painted space that reflects your personal style. Remember, practice makes perfect, so don’t be afraid to experiment and let your creativity shine. Take your time, enjoy the process, and revel in the satisfaction of transforming your home one brushstroke at a time. Happy painting.…